
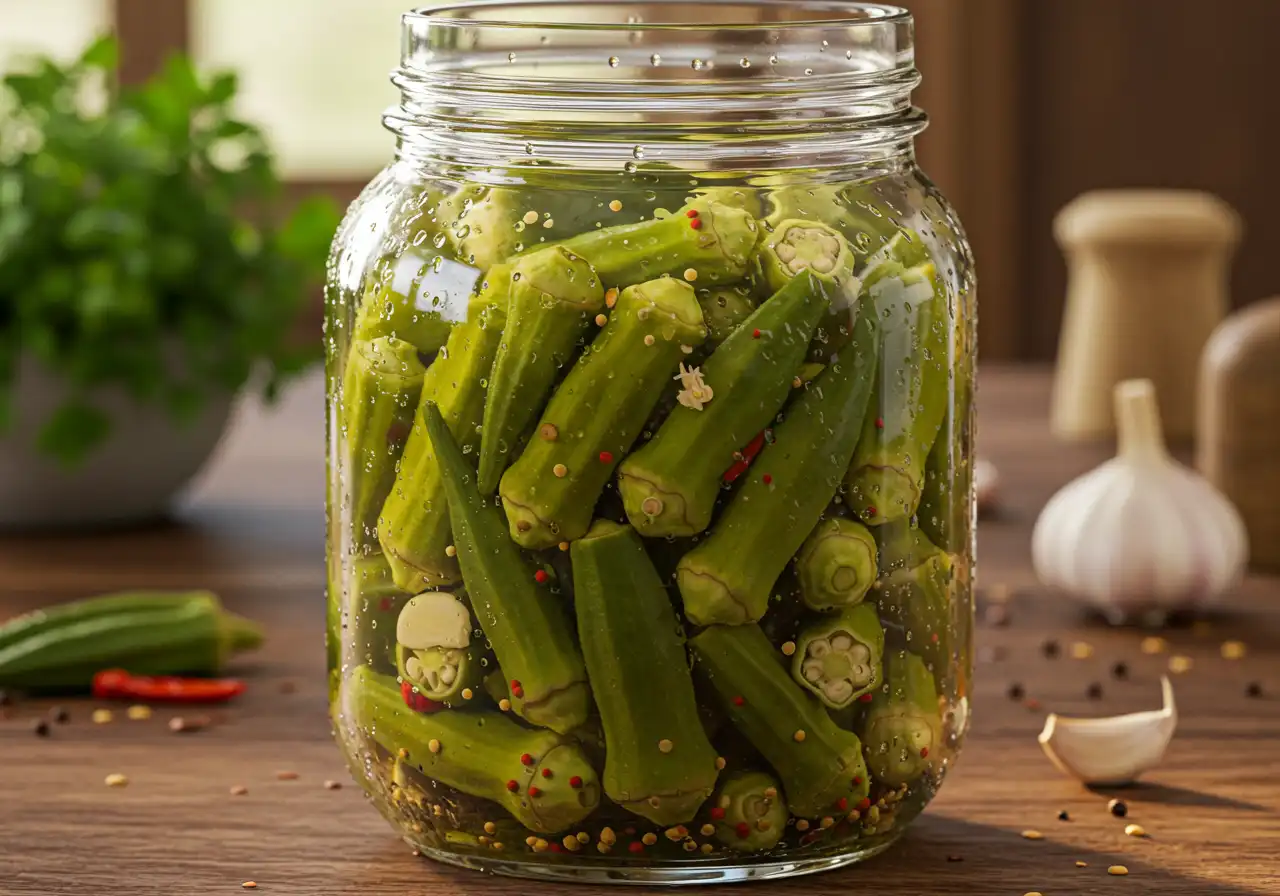
When I first tasted my pickled okra recipe, tucked into my grandma’s summer garden, I fell in love. I remember her carefully washing and trimming baby okra pods, packing them upright into jars, and pouring in a simmering okra brine recipe of vinegar, water, pickling salt, garlic, dill seeds, and peppercorns. That tangy crunch and zesty flavor convinced me instantly that pickling okra was my new favorite way to preserve summer’s bounty—and it will be yours too.
I always aim for that perfect crunchy okra pickle texture, and this recipe delivers. The secret lies in the vinegar brine denaturing sliminess, so you get pure snap—not slime. Whether you prefer a quick refrigerator pickle or classic water‑bath canning, I’ll walk you through both methods so you can choose based on your mood and time.
Why This Pickled Okra Works
I love how pickling transforms fresh okra—you go from potential sliminess to a crisp, bright snack that’s tangy, savory, and just a little spicy. The vinegar-to-water ratio, combined with pickling salt, herbs like dill seeds and garlic, and optional mustard or coriander seeds, creates flavor layers that burst with every bite. This isn’t just a Southern pickled okra trick – it’s a time‑honored tradition.
Plus, I base my process on water bath canning okra safety standards to ensure shelf-stable, pantry-ready jars. For a faster route, the quick-pickled okra method gives you grab-and-go flavor in just 24 hours—no canner needed. I love that flexibility.
Table of Contents
My Promise to You
I’ll show you:
- How to select tender pods—small to medium, blemish‑free—for optimal texture.
- The exact okra brine recipe ratio and spice mix I use for a punchy flavor.
- Two clear methods: refrigerator-pickled okra and traditional canned pickles, each mobile‑friendly for on‑the-go readers.
- Tips like using pickling salt to avoid cloudy brine and adding calcium chloride for extra crispness.
Ingredients + Preparation: pickled okra recipe
I’m excited to show you exactly what goes into my pickled okra recipe, using clean, simple pantry ingredients that deliver flavor-packed, crunchy okra pickles every time.
What You’ll Need
- Fresh okra: I choose small to medium pods (3–4 inches) that are firm and blemish-free—a key step in avoiding a slimy texture.
- Brine base:
- 2 cups white vinegar (5% acidity)
- 2 cups filtered water
- 3 tbsp pickling salt (or kosher salt)—no anti-caking agents to keep the brine clear.
- 1 tbsp granulated sugar (optional for mild sweetness)
- 2 cups white vinegar (5% acidity)
- Spices & aromatics:
- 3 garlic cloves (whole or halved)
- 1 tbsp dill seeds (or 2 tsp dried dill)
- 1 tbsp yellow mustard seeds
- 1 tbsp coriander seeds
- 1 tsp black peppercorns
- ½ tsp red pepper flakes (or 1 whole chili for a spicy kick)
- 3 garlic cloves (whole or halved)
- Optional crunch booster: a pinch of calcium chloride helps ensure crispness in your crunchy okra pickles.
Step‑by‑Step Preparation
1. Prep the Okra
I rinse each pod under cool water, patting it completely dry to avoid any sliminess. I trim stems just a bit, leaving the pods whole—this helps preserve the ideal crunchy okra pickles you love.
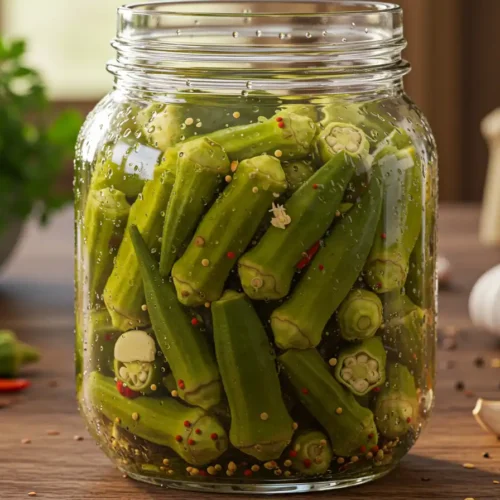
2. Pack Your Jars
I pack okra in pint jars, tips-up and snugly together. Then I drop in garlic, dill seeds, mustard, coriander, peppercorns, and red pepper flakes. This layering releases flavors evenly during pickling.
3. Create the Brine
I combine vinegar, water, pickling salt, and sugar in a saucepan, bringing it to a boil until the salt dissolves. That classic okra brine recipe gives bright, tangy flavor and proper pH for safety.
4. Pour and Ferment
I pour the boiling brine over the pods, covering them completely and leaving ½-inch headspace. I seal the jars, shaking gently to release air bubbles. Then I choose one of two methods:
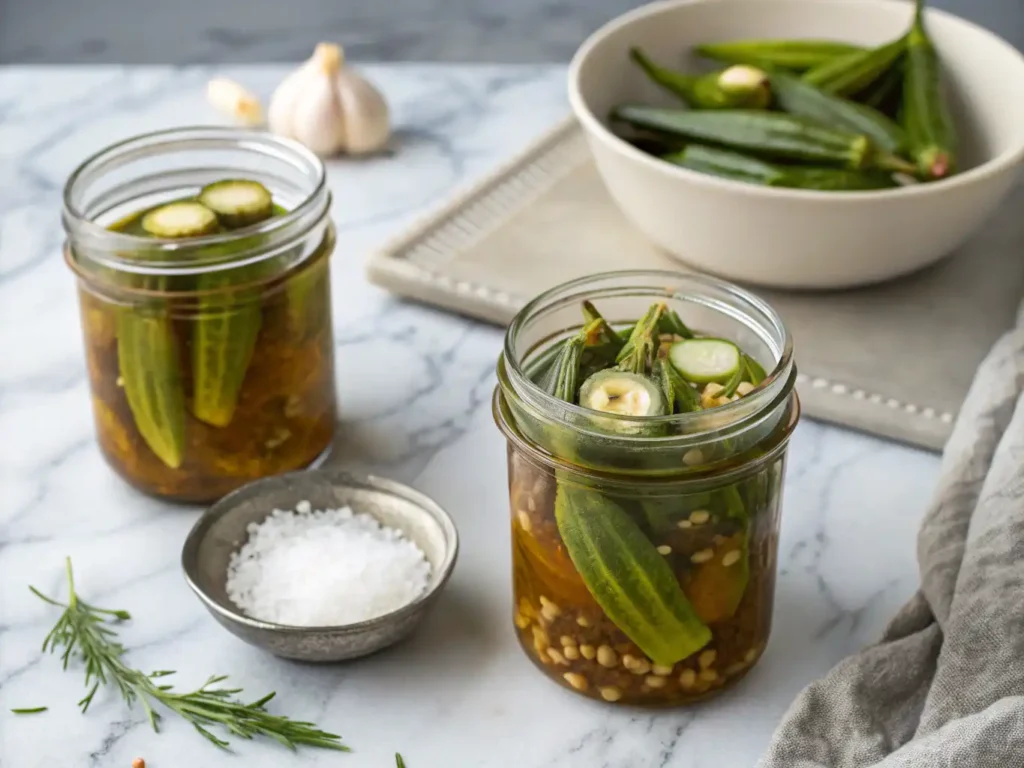
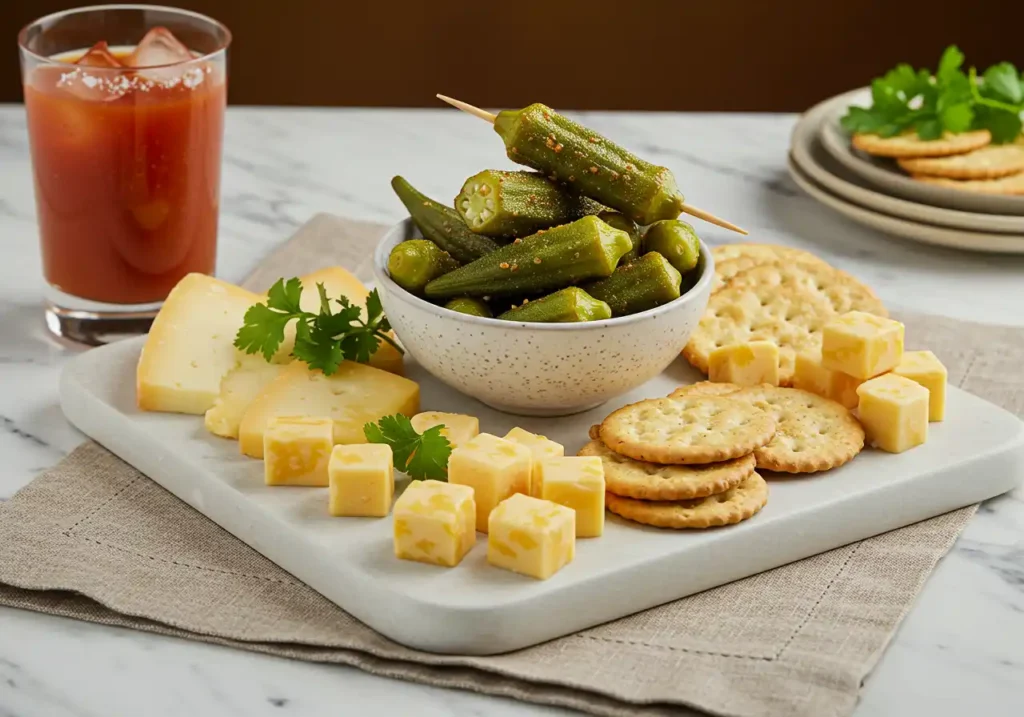
- Quick refrigerator pickled okra: let the jars cool, then pop them into the fridge. Rest 24 hours for tasty, crunchy okra—perfect for snacking, Bloody Mary garnish, or charcuterie boards.
- Water bath canning okra: submerge sealed jars in boiling water for 10–15 minutes (follow USDA standards). This lets me store the pickled okra recipe safely for up to a year at room temperature.
5. Rest & Enjoy
I wait at least a week before opening them—this gives time for the vinegar and spices to seep in, creating full-bodied flavor and that satisfying snap. Personally, I love letting them sit longer because patience pays off in richness.
Grandma’s Pickled Okra Recipe – A Southern Classic
Ingredients
- 1½ lbs 680 g fresh small-to-medium okra pods
- 3 garlic cloves whole or halved
- 1 Tbsp dill seeds or 2 tsp dried dill
- 1 Tbsp mustard seeds
- 1 Tbsp coriander seeds
- 1 tsp black peppercorns
- ½ tsp red pepper flakes adjust for heat
- Optional: pinch of calcium chloride for extra crunch
Brine:
- 2 cups 480 ml white vinegar (5% acidity)
- 2 cups 480 ml filtered water
- 3 Tbsp pickling salt or kosher salt
- 1 Tbsp granulated sugar optional, for subtle sweetness
Instructions
Prepare the okra:
- Wash pods under cool water and pat dry. Trim stem ends slightly while keeping pods whole.
Sterilize jars (if canning):
- Boil jars and lids for 10 minutes, then keep them warm.
Pack spice layers:
- Into each pint-sized jar, pack okra upright. Distribute garlic, dill, mustard, coriander, peppercorns, and red pepper flakes evenly.
Make the brine:
- In a saucepan, combine vinegar, water, salt, and sugar. Bring to a boil, stirring until dissolved.
Fill the jars:
- Remove jars from heat, pour hot brine over the okra, leaving ½‑inch headspace. If using calcium chloride, shake a pinch into each jar. Seal lids.
Choose your method:
- Refrigerator quick pickles: Let jars cool, then refrigerate at least 24 hours before enjoying. Great for snacking or Bloody Mary garnishes.
- Water-bath canning: Submerge sealed jars in boiling water for 10 min. Let rest 12–24 hours till sealed, then store in a cool, dark place for up to a year.
- Let them rest: For best flavor and crunch, wait at least 1 week before opening.
Notes
- Variations: Add jalapeño or serrano peppers for a spicy kick; use fresh dill in place of seeds.
- Serving ideas: Enjoy straight from the jar, on cheese or charcuterie boards, or as Bloody Mary garnishes.
- Diet & Allergies: Gluten-free, vegetarian, naturally vegan, and free from common allergens.
- Adjustments: Reduce salt for low-sodium diets; add sugar for a sweeter brine; increase chili flakes for extra heat.
Tips for Perfect Pickled Okra
I’ve tested many variations to ensure every jar yields crunchy okra pickles. Here’s what I’ve learned along the way:
- Choose the right pods: I always pick small to medium, firm okra—3–4 inches long—to avoid sliminess and support crisp texture. Larger pods become woody or mushy.
- Keep the pods whole: I leave okra uncut; whole pods resist slime better than sliced ones.
- Use pickling salt only: I never use table salt—just pickling or kosher salt—to keep a clear vinegar brine.
- Add a crunch booster: A pinch of calcium chloride (available at brewing stores) gives that satisfying snap in every bite.
Smart Storage & Shelf Life
Once my jars are sealed, I decide between two methods:
- Refrigerator pickled okra: I keep jars at 40 °F or lower in airtight glass containers. That preserves crispness and flavor for 1–3 months, sometimes even up to six!
- Water-bath canned okra: I process sealed jars for 10–15 minutes, then store them in a cool, dark pantry. Properly canned, the pickled okra recipe lasts 12–24 months.
Whenever I open a jar, I quickly check for signs of spoilage—cloudiness, sliminess, or off odors. If it’s clear, crisp, and smells tangy, I’m good to enjoy it!
Frequently Asked Questions
How long does pickled okra last?
Fridge-stored pickled okra stays tasty and crunchy for 1–3 months; canned jars last up to a year or more.
Can I quick-pickle instead of can?
Yes! My quick pickled okra method needs only 24 hours in the fridge using a 1:1 vinegar-to-water brine—no canner required.
Why is my brine cloudy sometimes?
Cloudiness can come from minerals in non‑pickling salt or natural fermentation, but it’s usually harmless unless accompanied by a smell or mushiness.
How do I keep them crunchy?
Use firm pods, whole okra, pickling salt, calcium chloride, and precise canning time—these are my go-to crispy okra pickles secrets.
Conclusion
I’ve walked you through everything I’ve learned—from selecting fresh okra and making a homemade okra brine recipe, to mastering both refrigerator pickled okra and shelf-stable water bath canning okra. With these tips, you’re set for flavorful, crunchy okra pickles that enhance snacks, charcuterie boards, Bloody Marys, and more. I’d love to hear how your jars turned out! Share your results, rate this recipe, or ask questions below. If you try this pickled okra recipe, leave a comment and take a look at TREASURESRECIPES.COM!