
- 1 ½ cups chocolate chips of choice (use stevia‑sweetened, keto‑friendly chips for a low‑carb version)
- 1 cup almond butter (or any nut/seed butter you love, such as peanut, cashew, or sunflower seed butter)
- ½ cup sticky sweetener of choice (for low‑carb, use a thick, syrup‑style sweetener made with stevia, erythritol, or monk fruit; for a non‑keto option, honey or maple syrup work too)
- ¼ cup coconut oil
- 3 cups nuts and seeds of choice (for example, almonds, cashews, pecans, pepitas, sunflower seeds, or a mix)
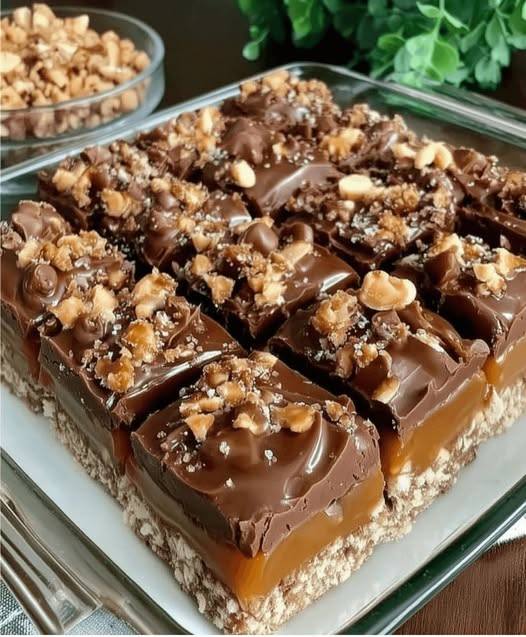
This ingredient list makes a full pan of dense, chocolate‑coated crunch bars that you can slice into 12 generous pieces or smaller squares if you want bite‑size treats.
Step-by-Step Method
1. Prepare the pan
Line an 8×8‑inch baking dish with parchment paper, letting the paper hang over the edges on two sides. This parchment “sling” makes it easy to lift the bars out in one piece once they’re set. Lightly grease the exposed sides of the pan if they’re not covered by parchment, just to be safe.
Set the prepared pan aside while you mix the chocolate base.
2. Melt the chocolate, nut butter, sweetener, and oil
You can use either the microwave or a stovetop double‑boiler style setup here.
Microwave method:
- Add the chocolate chips, almond butter, sticky sweetener, and coconut oil to a large microwave‑safe bowl.
- Microwave in 20–30 second bursts, stirring between each burst. Continue until the chocolate chips are mostly melted and the mixture looks smooth when stirred. Be careful not to overheat—chocolate can scorch quickly.
Stovetop method:
- Place the ingredients in a heatproof bowl.
- Set the bowl over a pot of gently simmering water, making sure the bottom of the bowl doesn’t touch the water.
- Stir continuously until everything is melted together into a smooth, glossy mixture.
Whichever method you choose, the end result should be a thick, pourable chocolate‑nut mixture with no visible lumps of chocolate or nut butter. The coconut oil helps it set firmly once chilled and adds a slight sheen to the finished bars.
3. Stir in the nuts and seeds
Once the base is melted and smooth, remove the bowl from the heat source. Add the 3 cups of nuts and seeds to the bowl. Use a spatula to fold them in until every piece is well coated.
You want the nuts and seeds to be evenly distributed throughout the mixture so that each square of the finished bar has a balanced crunch. If it feels like there’s too much chocolate in comparison to the mix‑ins, you can add another small handful of nuts or seeds; if it seems too dry and hard to stir, melt an extra spoonful of coconut oil and stir it in.
4. Press into the pan
Pour the coated nut‑and‑seed mixture into the lined 8×8‑inch pan. Use a spatula to spread it evenly into all four corners. Then, using the spatula or the bottom of a measuring cup, press the mixture down firmly. The more compact it is, the better the bars will hold together once they set.
Take a moment to smooth the top—you don’t need perfection, but an even surface makes for nicer slices later.
5. Chill until firm
Place the pan in the refrigerator or freezer. In the fridge, the bars typically need about 1–2 hours to firm up completely. In the freezer, they may be ready in 30–45 minutes. The exact time depends on how cold your appliance runs and how thick the mixture is in the pan.
You’ll know they’re ready when the top feels solid and no longer tacky to the touch.
6. Slice and serve
Once the bars are firm, grab the parchment overhang and lift the whole slab out of the pan onto a cutting board. Use a large, sharp knife to cut the slab into 12 bars or into smaller squares, depending on how big you want each serving.
If you’d like ultra‑clean edges, you can warm the knife under hot water, wipe it dry, then slice, wiping the blade between cuts.
Serve the bars immediately or store them according to your preference (see the storage section below).
Continue to the next page to reveal more tips and tricks