
Ingredients for Black Forest Cheesecake
- 2 cups chocolate cookie crumbs (such as Oreos, finely crushed)
- 1/4 cup melted butter
- 3 (8 oz) packages cream cheese, softened
- 1 cup granulated sugar
- 3 large eggs, room temperature
- 1 teaspoon vanilla extract
- 1/2 cup sour cream
- 1/2 cup semi-sweet chocolate, melted and cooled
- 1 tablespoon cocoa powder
- Pinch of salt
- 2 cups cherry pie filling (or homemade cherry compote)
- 1 cup whipped cream (for topping)
- Chocolate shavings or curls (for garnish)
- Optional: Kirsch (cherry liqueur) for soaking cherries
How I Make Black Forest Cheesecake
Prepare the Crust
I preheat my oven to 325°F (163°C). In a bowl, I mix chocolate cookie crumbs with melted butter until the texture is damp sand, then press the mixture firmly into the bottom of a 9-inch springform pan. After baking the crust for 10 minutes, I let it cool while preparing the filling.
Mix the Cheesecake Batter
In a large bowl, I beat the cream cheese until smooth and creamy. I mix in the sugar, then add eggs one at a time, followed by vanilla, sour cream, melted chocolate, cocoa powder, and a pinch of salt. Gentle mixing here keeps the texture velvety and avoids overbeating.
I pour the batter over the cooled crust, smoothing the top. For even baking, I wrap the pan with foil and place it in a roasting pan filled with a bit of hot water for a gentle water bath.
Bake the Cheesecake
The cheesecake bakes for 55–65 minutes, until the edges are set but the center is just barely jiggly. I turn off the oven and let the cheesecake cool inside the oven, door ajar, for about an hour. Once at room temperature, I chill it thoroughly—preferably overnight—for the best texture and sliceability.
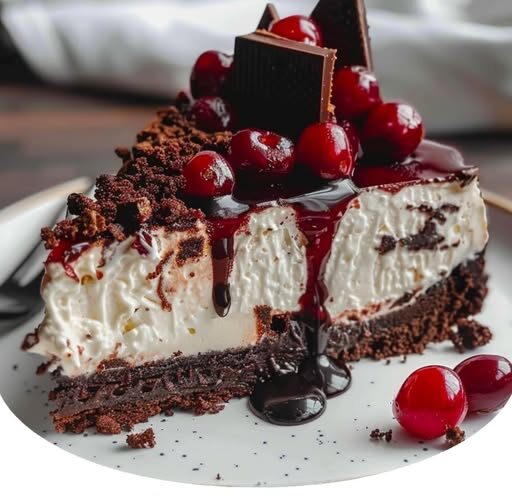
Decorate with Cherry and Chocolate
When ready to serve, I remove the cheesecake from the pan. I spoon a generous layer of cherry pie filling (or compote) over the top—if you want extra elegance, splash cherries with a hint of kirsch. I pipe swirls of whipped cream around the edges and finish with chocolate shavings or curls for a gorgeous finish.
Continue to the next page to reveal more tips and tricks