
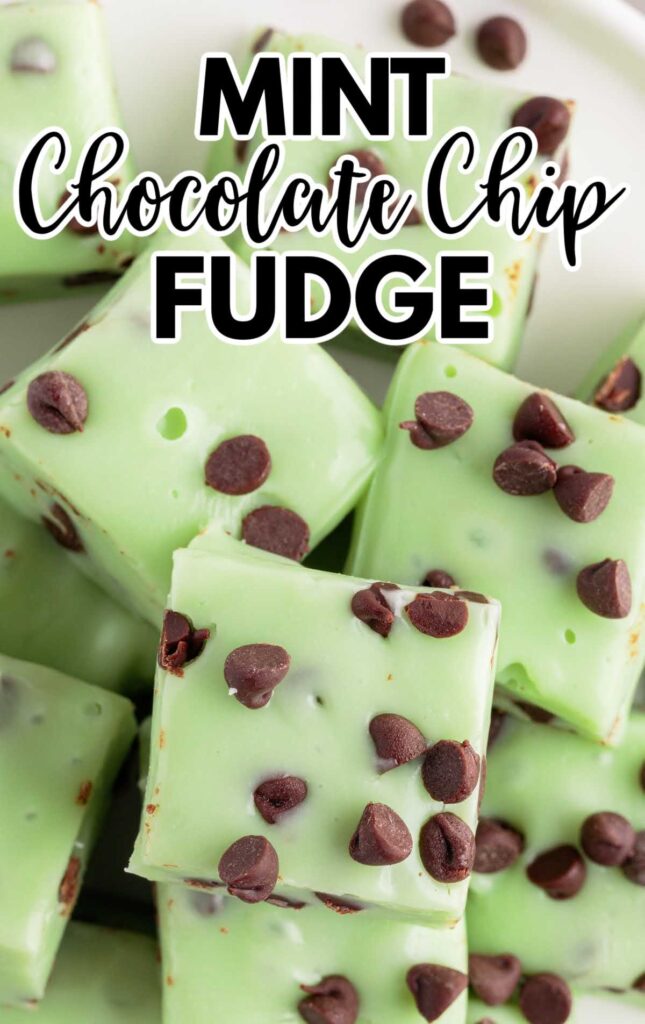
Mint Chocolate Chip Fudge takes everything people love about mint‑chocolate‑chip ice cream and turns it into a creamy, sliceable candy bar that is perfect for Christmas platters, bake sales, or edible gifts. Instead of fiddling with thermometers or worrying about soft‑ball stage, this recipe relies on white chocolate chips and sweetened condensed milk, so the fudge sets up smooth and rich every time, even for beginner candy makers.
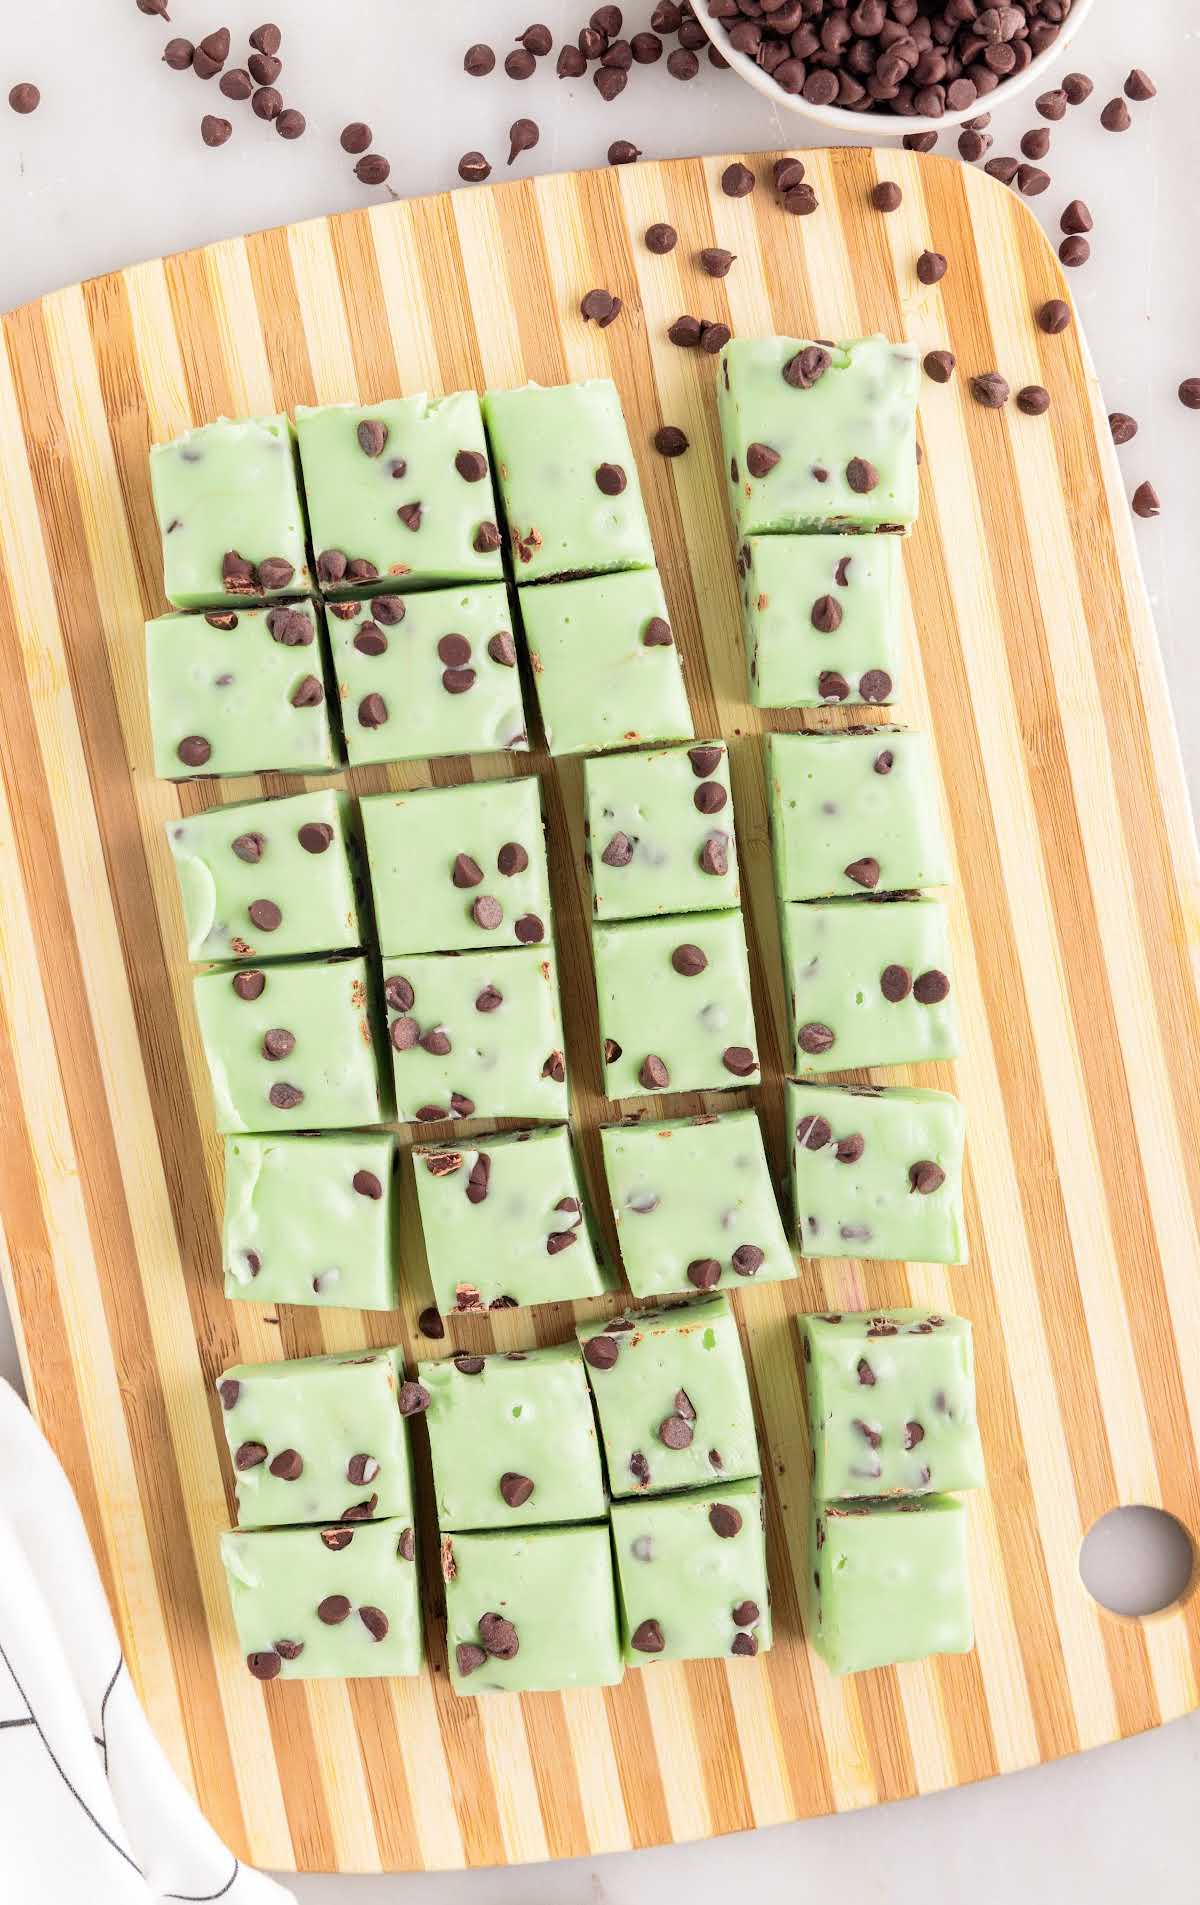
Mint fudge is especially popular around the winter holidays because the cool peppermint pairs beautifully with other classic Christmas flavors and looks striking alongside darker chocolate treats. The pale green base studded with tiny chocolate chips almost mimics the look of an ice‑cream scoop, yet the texture is firm enough to stack, wrap, and transport easily, making it a practical choice for cookie exchanges and gift tins. By adjusting the amount of mint extract and chocolate chips, this recipe can lean either toward a gentle, creamy mint or a bold, refreshing flavor, so it’s easy to tailor to your family’s tastes.
Ingredients for Mint Chocolate Chip Fudge
The ingredient list is short and straightforward, which is part of the charm of this fudge. Each component plays a specific role in flavor, texture, or appearance.
- 2 cups white chocolate chips
- 1 cup sweetened condensed milk
- 1/2 to 1 teaspoon peppermint extract
- 1/2 teaspoon vanilla extract
- 2 to 3 drops green gel food coloring
- 1/2 cup mini semi‑sweet chocolate chips, divided (most folded into the fudge, some reserved for sprinkling on top)
White chocolate chips form the base of the fudge and melt into a smooth, pale canvas that takes on both the mint flavor and green color. Sweetened condensed milk provides sweetness and body, allowing the mixture to set without additional sugar boiling; it also gives the characteristic creamy, slightly chewy texture of quick fudge recipes. Peppermint extract supplies the cooling mint note, while a touch of vanilla rounds out the flavor and keeps it from tasting one‑dimensional. Green gel food coloring helps signal “mint” visually with only a few drops, and the mini chocolate chips scattered throughout create the speckled “mint chip” look and a pleasant snap with every bite.
Preparing the Pan and Equipment
Before heating anything, it helps to get the pan and tools ready because fudge thickens quickly once it comes off the stove. For this quantity, an 8×8‑inch square pan works well and yields a fudge height similar to many online mint fudge recipes. Line the pan with parchment paper or aluminum foil, leaving an overhang on two sides to create handles that will allow you to lift the slab out later. Lightly grease the parchment or foil with a small amount of butter or nonstick spray so the fudge releases easily.
A heavy‑bottomed saucepan is important for even heating; thin pans can cause hot spots and scorch the chocolate. Use a heat‑resistant spatula or wooden spoon for stirring and keep a silicone spatula handy for scraping the fudge into the pan. Having a small offset spatula is helpful for smoothing the top and pressing the chips gently into the surface once the fudge is in the pan.
Melting the White Chocolate and Sweetened Condensed Milk
Most quick fudge methods combine chocolate and sweetened condensed milk directly in the pan over gentle heat. Place the white chocolate chips and the sweetened condensed milk in the heavy‑bottomed saucepan and set it over low heat. Stir constantly as the chips begin to soften, scraping the bottom and sides so nothing sticks. White chocolate can scorch easily, so resist the temptation to crank the heat; patience and constant movement are key.
As the chocolate melts, the mixture will gradually become smooth and glossy. When only a few small pieces of unmelted chocolate remain, remove the pan from the heat and keep stirring until everything is fully melted and uniform. Using residual heat from the pan and mixture instead of leaving it on the burner reduces the risk of overheating, which could cause the chocolate to seize or separate. At this stage the fudge base will be thick but pourable, similar to a loose ganache.
Adding Flavor and Color
Once the white chocolate and condensed milk mixture is smooth, it is time to introduce the peppermint and vanilla extracts. Start with 1/2 teaspoon of peppermint extract and the 1/2 teaspoon of vanilla, stirring well to distribute them evenly throughout the warm fudge. Give the mixture a careful taste, bearing in mind that the mint flavor will be slightly muted once the mixture is fully chilled.
If you prefer a stronger mint presence, gradually increase the peppermint extract up to 1 teaspoon, stirring and tasting after each tiny addition. Using too much can tip the flavor into harsh or medicinal territory, so slow adjustments are best. Once you are satisfied with the flavor, add 2–3 drops of green gel food coloring and stir again until the color is even. Gel coloring is recommended in many mint fudge recipes because it imparts a rich hue without thinning the mixture; liquid coloring could change the texture if used heavily.
Folding in the Chocolate Chips
At this point the fudge mixture is hot enough to melt chocolate chips instantly, so it is wise to let it cool for several minutes before adding them. Let the pan sit off the heat, stirring occasionally, until the mixture feels warm but not hot when you touch a small dab to the inside of your wrist. This brief cooling step helps the mini chips hold their shape instead of dissolving into streaks of chocolate.
Reserve a small handful of mini semi‑sweet chips for decorating the top. Fold the remaining chips into the fudge using a spatula, turning the mixture from the bottom up until the chips are evenly distributed. The contrast between the pale green fudge and the darker chips gives that signature mint‑chocolate‑chip ice‑cream look, so try to spread them throughout rather than having them clump in one area.
Spreading and Setting the Fudge
Scrape the still‑warm fudge into the prepared pan and use an offset spatula to ease it into the corners, smoothing the top as much as possible. Immediately sprinkle the reserved mini chocolate chips over the surface in an even layer, then press them down very gently with the spatula or your fingertips so they adhere but do not disappear beneath the surface.
Cover the pan loosely with plastic wrap or a lid and transfer it to the refrigerator. Most quick fudge recipes recommend chilling for at least two hours, though leaving it for three to four hours or even overnight will make slicing easier and yield very clean edges. As the fudge cools, the cocoa butter in the chocolate firms up again and the condensed milk sets, giving the finished candy a firm but creamy bite.
Cutting and Serving
When the fudge is fully chilled and solid to the touch, grip the parchment or foil overhang and lift the entire slab out of the pan onto a cutting board. Use a long, sharp knife—warmed briefly under hot water and wiped dry—to cut the slab into even squares. Many bakers prefer 1‑inch pieces for gift boxes, but you can cut larger squares if you want more substantial servings.
Wiping the knife clean between cuts preserves the crisp layers of green and chocolate chips on the sides of each piece. Arrange the squares in airtight containers with parchment between layers to prevent sticking, or tuck them into candy boxes and tins lined with decorative paper for gifting. Mint fudge is appealing on its own, but it also pairs nicely with peppermint bark, chocolate truffles, or gingerbread cookies on mixed dessert trays.
Storage, Make‑Ahead, and Gifting
One of the biggest advantages of this style of fudge is how well it keeps. Properly stored in an airtight container in the refrigerator, Mint Chocolate Chip Fudge usually stays fresh for about one to two weeks, which aligns with storage guidelines in similar quick‑fudge recipes. For longer storage, you can freeze the squares for up to two to three months; wrap tightly in plastic, then place in a freezer bag or covered container to prevent freezer odors from affecting the flavor.
When gifting fudge, it is a good idea to include a note suggesting that recipients keep it chilled for the best texture and flavor. Many home bakers like to package an assortment of flavors together—such as classic chocolate, peanut butter, and this mint chip version—to create variety. Because the mint flavor intensifies slightly over time, fudge made a day or two in advance often tastes even better than when it is first prepared.
Continue to the next page to reveal more tips and tricks